How to Compress Images Without Losing Quality (Practical Guide)
·5 min read
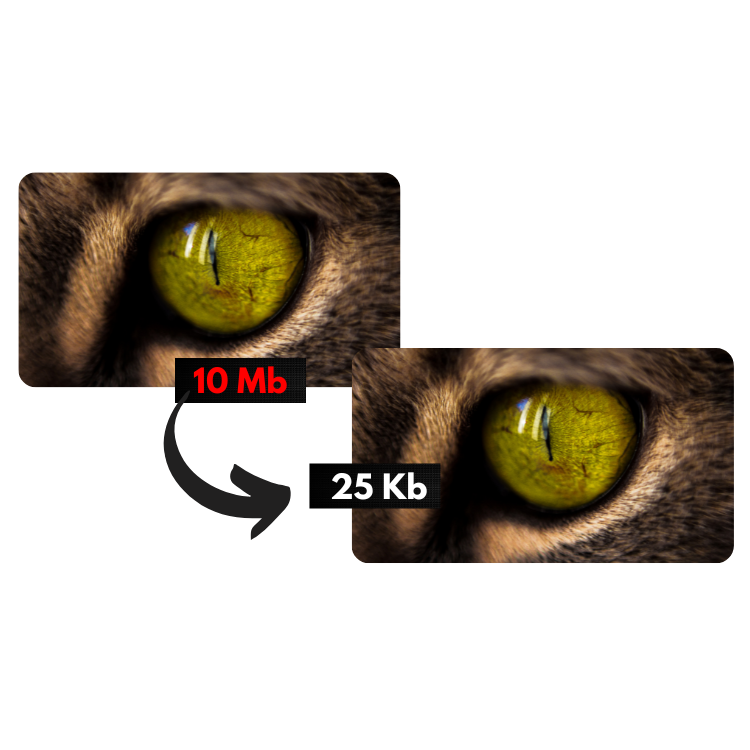
Why compress images?
Images are responsible for 60-70% of a web page's size. This directly impacts:
- Loading speed: slow pages lose visitors
- SEO: Google uses Core Web Vitals as a ranking factor
- Hosting cost: less data transferred
- Mobile experience: less data consumption for users
Lossy vs lossless compression
Lossy
Discards image data to generate smaller files. Used in JPG and WebP.
Result: files 60-80% smaller. At 0.7-0.8 quality, the difference is imperceptible to the naked eye.
Lossless
Compresses without discarding any data. Used in PNG.
Result: files 10-30% smaller, maintaining quality identical to the original.
Recommended settings by image type
| Image type | Recommended format | Quality |
|---|---|---|
| Photo (people, products) | JPG or WebP | 0.7-0.8 |
| Logo with transparency | WebP or PNG | Lossless |
| Screenshot/text | PNG | Lossless |
| Large background image | JPG or WebP | 0.6-0.7 |
How to compress with our tool
- Access the [Image Compressor](/compressor-de-imagens)
- Set the options (quality, max size, output format)
- Drag your files to the compression area
- Download starts automatically
Tip: if the compressed image ends up larger than the original (rare, but possible with low-quality PNG), the tool automatically downloads the original version.
Expected results
For a typical 2MB photo:
- JPG at quality 0.7: ~400-600KB (70-80% reduction)
- WebP at quality 0.7: ~300-450KB (77-85% reduction)
- Lossless PNG: ~1.4-1.8MB (10-30% reduction)